Spatel23
Moderator
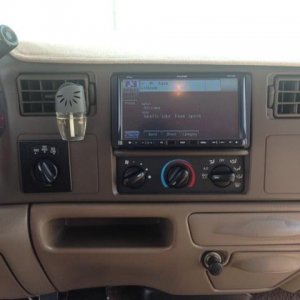
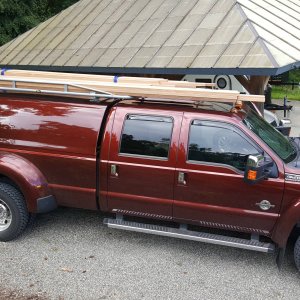
gonna need pointers on how to get that trim piece off the boards too
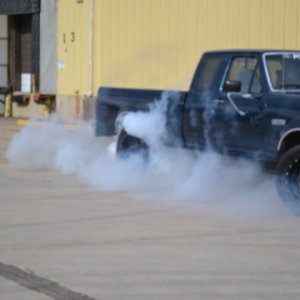
been wondering how I was going to get rid of it
been wondering how I was going to get rid of it

Apparently very carefully! LOLgonna need pointers on how to get that trim piece off the boards too
been wondering how I was going to get rid of it
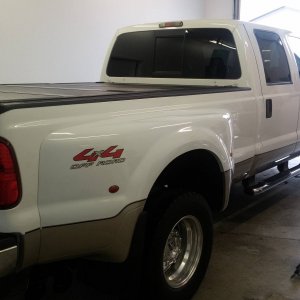
is that blue jeans metallic ?