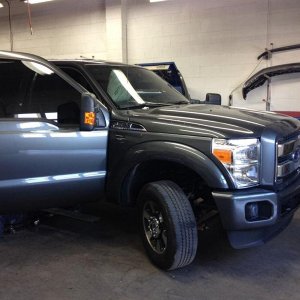
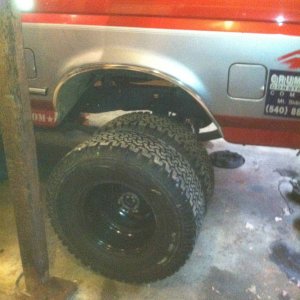
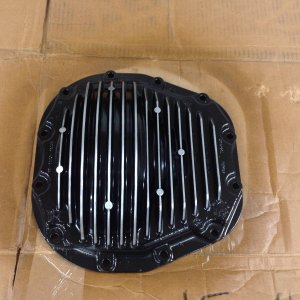
I just replaced my oil pan with a Moroso pan and gasket. I figured this information may help others so I am posting it.
2002 F350 7.3 PSD Crew Cab 8’ Bed Dually Oil Pan Removal Engine & 4R100 Transmission in Truck.
9/2/19 by: KC2LLW
Parts used, bought from: Amazon total cost $697.83
DB Starter SFD 0086 $77.00
OSC Radiator 2171 $167.00
Dorman Dipstick tube 917-309 $41.00
Ford RTV TA-31 5OZ $21.10
Dipstick flange inner & outer flange nut and O rings APDTY015367 $32.00
Moroso Oil Pan 27336 $279.74
Moroso Oil Pan Gasket 27293 $ 79.99
Parts used, bought from: Rock Auto total cost $116.65
Dorman oil cooler lines Trans to air cooler F81Z7A030CA $12.50
Dorman oil cooler line inlet Radiator to Trans YC3Z7A031CA$19.64
Dorman Oil cooler line air cooler to radiator outlet D5AZ7B093A $10.74
SUNSONG Oil cooler line outlet radiator to air cooler 5801119 $16.85
Coolant recovery tank hose to radiator 18285L $18.68
Lower radiator hose 22690 $16.11
Upper radiator hose 22433 S11.44
Thermostat 192 degrees 7378192 $10.00
Thermostat MG186 seal $0.69
Walmart: Rotella T 15W-40 15 quarts $48.00
Oil Filter FL-1995 $8.99
Advance Auto Parts: Zerex G05 3 gallons full strength $38.97
Total Cost $910.44
1) To start off I disconnected the batteries and removed them.
2) Remove the driver side air filter box and battery tray.
3) Drained engine oil and took off oil filter.
4) Drained coolant and removed all hoses.
5) Remove fan shroud/fan clutch counterclockwise to loosen nut.
6) Remove radiator and transmission oil cooler lines (mine were rusted so bad they just broke off).
7) Remove2 front cab body nuts near grill I believe they were 21mm
8) Remove 2 cab bolts driver feet side was 24MM passenger feet side was 22MM
9) Remove 2 cab bolts rear cab area driver side passenger feet was 24MM passenger side feet 22MM
10) Remove rear tool tray from behind back seat I just loosened these 2 cab bolts again driver side was 24MM passenger side was 22MM
11) Note on all the cab bolts I used an impact on them I had to run them in and out several times until they completely were removed I believe the factory uses Loctite on them and they were very rusty.
12) At this point I evenly jacked up the body with wood blocks and 2 / 12 ton bottle jacks from under the driver and passenger side mount locations. I jacked until the rear of the cab touched the bed I was able to get a 4X4 wood block in between the front frame and front body mount near the grill. I also put 2X4 blocks between the cab mounts at the driver and passenger feet locations.
13) I unbolted the 4 motor mount bolts at the cross member 21MM I believe.
14) I unbolted the 15MM nut that attaches the starter wire and transmission cooling lines at the front bottom of the engine.
15) I removed the starter motor and flywheel inspection shield 5 10MM bolts (my starter nut holding the positive heavy gage wire just broke off at the solenoid) so I bought a new starter.
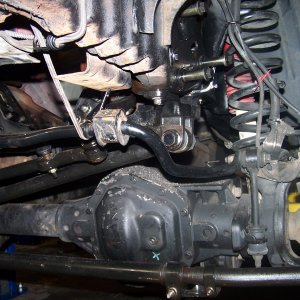
16) I used 3 ½ ton floor jack and 24” long 2X4 to jack up the motor at the harmonic balancer at the crank. The 2x4 must be set in between the steering bars I slowly lifted the motor until it began to move the body up with the engine.
17) At this point I was able to block each motor mount location with 4X4 wooden blocks. And released the jack.
18) I unbolted the 12 / 10MM bolts from the oil pan and started to try to break the oil pan free from the block. I tried with a razor knife but finally used a 1” sturdy putty knife and hammered it between the pan and the block on both sides of the front of the oil pan. I then got a miracle bar in between the pan and block and the pan broke free.
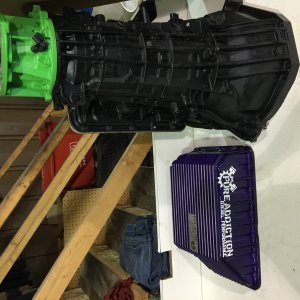
19) At this point the pan would not drop out and it looked like I needed about 1” more in height as the back of the pan would not clear the flywheel know matter how hard I tried to turn pull or twist it would not drop out.
20) I then removed the 2-22MM nuts at the transmission mount and the 4-10MM bolts on the transfer case skid plate. I used a bottle jack and wood blocks to jack up the transfer case / transmission about 2 to 2 1/2”.
21) This gave me just enough room to drop the pan out.
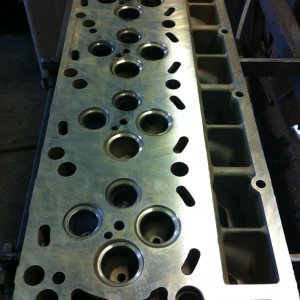
22) I then cleaned the bottom end with brake clean and using a razor knife and a SS wire wheel on a drill cleaned the old sealant off the block and prepared the surface.
23) Making sure the block was clean of oil, old sealant and dry I followed Moroso instructions and installed the 12 studs provided with the gasket installing them 3/4” to 7/8” using blue Loctite.
24) I then applied the Ford gray sealant to the areas Moroso instructed on the front and rear sections of the block and the pan and installed the gasket on to the studs making sure the gasket was oriented it the correct way gasket marked front to the front of engine and gasket indent installed next to oil pickup tube .
25) Carefully lifting the new oil pan into place I had to gently tap the pan onto the studs and attached the nuts. I tightened the nuts from the center outward to the front and rear of the oil pan and torqued them equally to about 15 foot pound.
26) Once I had the new oil pan in. I just reassembled in the reverse order.
27) Some notes: This proves that the oil pan can be removed in the truck with the 4R100 transmission attached it is a pain but can be done, working on your back with rust in your face sucks but it is doable. I would recommend lifting the truck on jack stands 4 to 6 inches at the front axle to give yourself some extra clearance to work. The Moroso gasket was very thick and well made the oil pan was also very sturdy and heavier than the stock oil pan. (The key is getting the gasket surface clean and dry. A small wire wheel was great for this on a battery drill it cleaned the surface quick and easy getting the old grey sealant off in no time.) I did this in between two weekends so my truck had plenty of time to drain the oil down out of the block. I would like to thank my Son Steve for helping me install the new pan and hand me tools while on my back under the truck. I did this in my driveway in 90 degree weather out in the sun so that was not the perfect location. My truck is 15 years old 118,000 miles all original parts kept outside all of its life in the northeast so it is rusted and has to deal with winter salt. I felt this was my best option. I looked at the pan saver but didn’t like the idea of the fiberglass shell and my pan was rusting out up front also the pan saver only covers the deep bottom part of the pan. I knew I was going to need new hoses transmission lines and radiator, starter and other components due to the trucks age and rust. Have done this once now I could probably do it in half the time. I also conceder pulling the engine but I didn’t want to tie up my garage. I would also like to give credit to the following people who I got advice from on YouTube.
Awgolasplowing & DieselTechRon.
Thanks,
KC2LLW
Steve Z

