Ok so after seeing Mikeyfitz's aftermarket headlights, I just had to have them. I put in the order about a month ago, and they arrived yesterday. This will be a rough install write up that should help anyone who's on the fence about these lights.
Ok so first thing: THERE ARE NO INSTRUCTIONS, this is a fairly simple install if you're good with electrical work. If not, it might seem overwhelming at first.


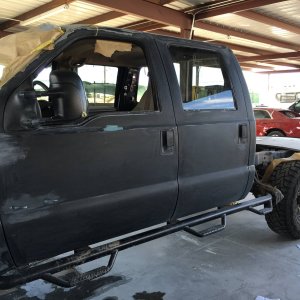
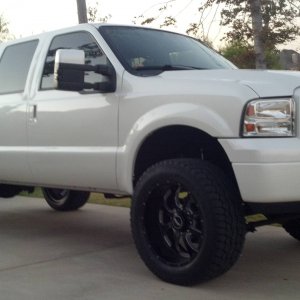
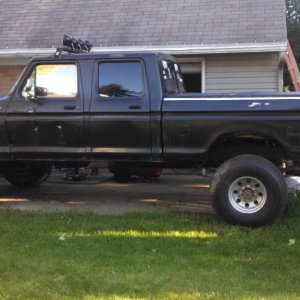
Truck before
Ok so the biggest problem I ran into was just that with the LED floods protrude backwards in the housing so that the hole that's supposed to be plugged by the old turn signal housing.

The red circle is the one I'm talking about, you can see the flood light housing is almost flush with that hole making it impossible to fit the bulb housing in to seal the hole. The blue circle is the side marker bulb housing which you can still use to plug the hole.

Here's a close up of the hole with some sealant around the hole. I used a DVD case to make the little plastic block off pieces.

Okay next I removed the grille and old lights, super super simple, 4 bolts on each light, 1 top, 2 on each inside face, and 1 underneath. Once they're out you can start planning on what side you want the main wiring harness for the HID's to connect. Since we have 2 batteries, either side will work, however since I don't have my stock airbox, this free's up a lot of room on the passenger side, so that's the side I went with.

So ignore the dirty prefilter, and that rolled up wiring is for the top floods, that I was going to wire to a switch then said **** it and am going to tie into my fog lights later today. You can see I just mounted the main harness control module to the old airbox inlet. The ballast is mounted inside actually.

Here's the positive battery connection for the main harness.
I decided to use the driver side battery to connect my demon eyes controller. I'll be picking up some plastic conduit to put around this so It's not so trashy looking...

Next I mounted the wireless receiver for the Demon Eyes. The plastic shield above the main radiator proved to be my best bet.

The lights themselves! Ok so actually once the routing of the main harness and ballast mounting is done, it's pretty simple.

Here you can see the open bay, where you have plenty of room to work. You're going to need to cut only one wire bundle, which is nice. Also make sure to save the cut connectors in case you ever need to go back to stock, this way you can just solder on the stock connector if need be.

Here are the 3 connectors, you'll be cutting the middle one off, aka the big brown one. This is your turn signal/parking lights. This is where your LED strip wires will be soldered on. You'll want to solder in some resistors, 6 Ohms, to keep it from thinking a bulb is blown, and flashing at a heightened interval.

Here's a close up of the connector. The wires are different colors on each side so play it safe and make sure you check on both sides to find out which one is the parking lights and which one is the turn signal. Black is ground on both sides though. Make sure when you cut this connector, to leave yourself enough material on the connector side to re-solder if need be.
Ok, the only other connector you will need is one of the stock headlight leads, either side. Since I mounted my main harness controller on the passenger side, I used the passenger headlight lead. This lead plugs into the only unlabeled plug on your wiring harness. This lead tells the controller when the headlights are on and when High beams are on.

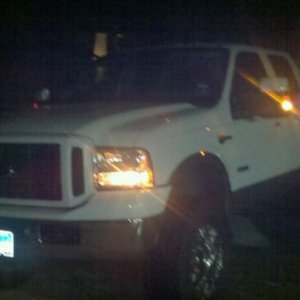
After that it's just a matter of plugging everything in to it's corresponding connector, and mounting the new lights. You will probably have to adjust them once you've got everything back together, mine were WAY low. Here's a few pics of the final product.


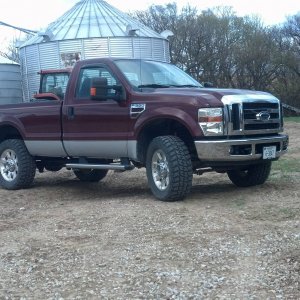
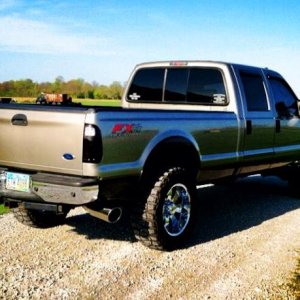
And so Jcain won't whine, token Yoga Pants shots...

And to make up for the lack of Yoga Pants in my last post:

Ok so first thing: THERE ARE NO INSTRUCTIONS, this is a fairly simple install if you're good with electrical work. If not, it might seem overwhelming at first.
Truck before
Ok so the biggest problem I ran into was just that with the LED floods protrude backwards in the housing so that the hole that's supposed to be plugged by the old turn signal housing.
The red circle is the one I'm talking about, you can see the flood light housing is almost flush with that hole making it impossible to fit the bulb housing in to seal the hole. The blue circle is the side marker bulb housing which you can still use to plug the hole.
Here's a close up of the hole with some sealant around the hole. I used a DVD case to make the little plastic block off pieces.
Okay next I removed the grille and old lights, super super simple, 4 bolts on each light, 1 top, 2 on each inside face, and 1 underneath. Once they're out you can start planning on what side you want the main wiring harness for the HID's to connect. Since we have 2 batteries, either side will work, however since I don't have my stock airbox, this free's up a lot of room on the passenger side, so that's the side I went with.
So ignore the dirty prefilter, and that rolled up wiring is for the top floods, that I was going to wire to a switch then said **** it and am going to tie into my fog lights later today. You can see I just mounted the main harness control module to the old airbox inlet. The ballast is mounted inside actually.
Here's the positive battery connection for the main harness.
I decided to use the driver side battery to connect my demon eyes controller. I'll be picking up some plastic conduit to put around this so It's not so trashy looking...
Next I mounted the wireless receiver for the Demon Eyes. The plastic shield above the main radiator proved to be my best bet.
The lights themselves! Ok so actually once the routing of the main harness and ballast mounting is done, it's pretty simple.
Here you can see the open bay, where you have plenty of room to work. You're going to need to cut only one wire bundle, which is nice. Also make sure to save the cut connectors in case you ever need to go back to stock, this way you can just solder on the stock connector if need be.
Here are the 3 connectors, you'll be cutting the middle one off, aka the big brown one. This is your turn signal/parking lights. This is where your LED strip wires will be soldered on. You'll want to solder in some resistors, 6 Ohms, to keep it from thinking a bulb is blown, and flashing at a heightened interval.
Here's a close up of the connector. The wires are different colors on each side so play it safe and make sure you check on both sides to find out which one is the parking lights and which one is the turn signal. Black is ground on both sides though. Make sure when you cut this connector, to leave yourself enough material on the connector side to re-solder if need be.
Ok, the only other connector you will need is one of the stock headlight leads, either side. Since I mounted my main harness controller on the passenger side, I used the passenger headlight lead. This lead plugs into the only unlabeled plug on your wiring harness. This lead tells the controller when the headlights are on and when High beams are on.
After that it's just a matter of plugging everything in to it's corresponding connector, and mounting the new lights. You will probably have to adjust them once you've got everything back together, mine were WAY low. Here's a few pics of the final product.
And so Jcain won't whine, token Yoga Pants shots...
And to make up for the lack of Yoga Pants in my last post:
")