stevens6.7
Member
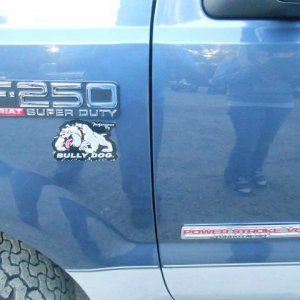
Damn! Those are some big horns! Can you PM me the price you paid?

Damn! Those are some big horns! Can you PM me the price you paid?
 opcorn:
This is exactly what a SEMA truck should look like. Nice work and attention to detail. Best of luck
opcorn:Are you gonna retain the stock turbo?
Sent while I probably should be doing something productive.
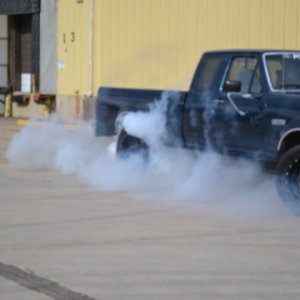
Hoods and doors stayed locked at sema, its all about the looks.
ohhh! I was gonna say a MDP or Elite kit would give you both a better set up and better looks buuuuut since the hood stays closed no one would be able to see it.
Sent while I probably should be doing something productive.